PREFORM TGC – Preformed thermoplastic material for horizontal road markings
APPLICATION INSTRUCTIONS
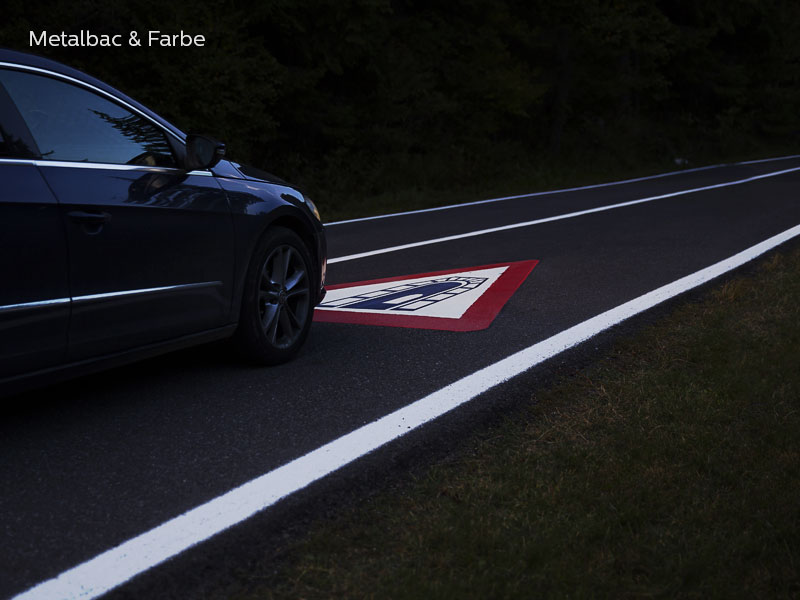
PREFORM TCG is a durable, easy to apply, pavement marking material designed for horizontal road markings. PREFORM TCG is available as simple lines, arrows, letters, numbers, colored traffic signs (danger warning, priority, information, facilities, or service road traffic signs) as well as custom-made designs and is supplied in its final form and shape.
The preformed thermoplastic material for road signalization is supplied in large pieces, which are put together as a giant puzzle.
PREFORM TCG preformed thermoplastic material is ideal for high traffic areas where durable road markings are needed as well as for parking spaces. No expensive and complex equipments are needed for its application.
Preformed material PREFORM TGC is delivered with glass beads mixtures evenly distributed on top and 30 % intermix beads. For initial reflection additional glass beads have to be applied on the surface during application.
Please study carefully the following instructions in order to avoid application mistakes, damages or work-related accidents.
Safety precautions during application:
- Use protective clothing such as leather boots, long pants, safety glasses and appropriate gloves. Do not use protective equipment made of synthetic materials.
- Avoid all contact with the molten material and heat torch flame. If you do get molten material on your skin, flush the area immediately with plenty of water and seek medical attention. DO NOT attempt to pull the molten material off of your skin.
- Take all necessary precautions when working with an open flame. General safety rules should be followed when using propane.
Application instructions
- General instructions for surface treatment
The preformed thermoplastic material must be applied only on moisture free surfaces. Thoroughly clean the application area. Remove all loose particles (sand, dust, and other debris). Worn, polished surfaces should be wound or milled so that the surface becomes rough. The surface must be free of chemicals or oily substances. For cleaning the surface we recommend to use a power blower or compressed air if possible. Otherwise, sweep the entire area completely. PREFORM TGC can be applied on top of existing thermoplastic markings. Application on old thermoplastic road markings requires to scrape off any loose material. When the surface of the thermoplastic is already oxidized heat the surface shortly and scrape the top until fresh material appears. Apply on top of any existing marking materials other than thermoplastic, only after consulting the producer.
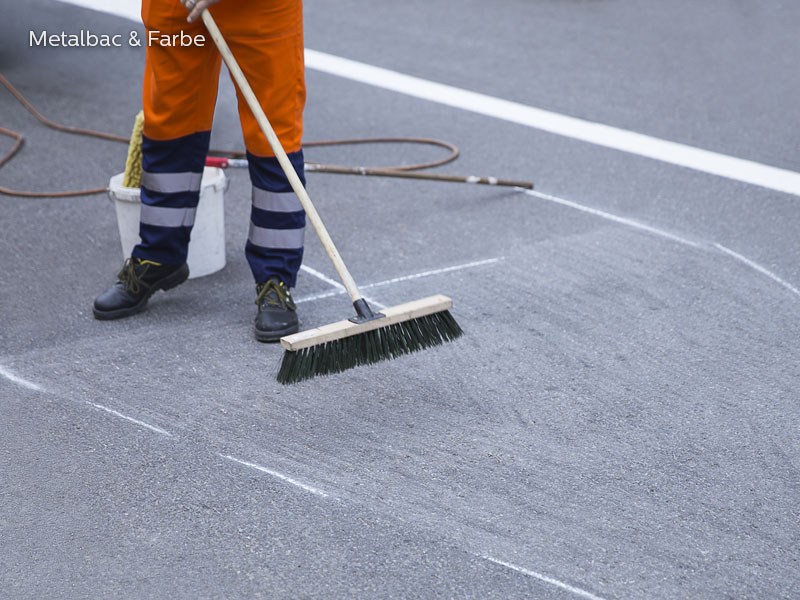
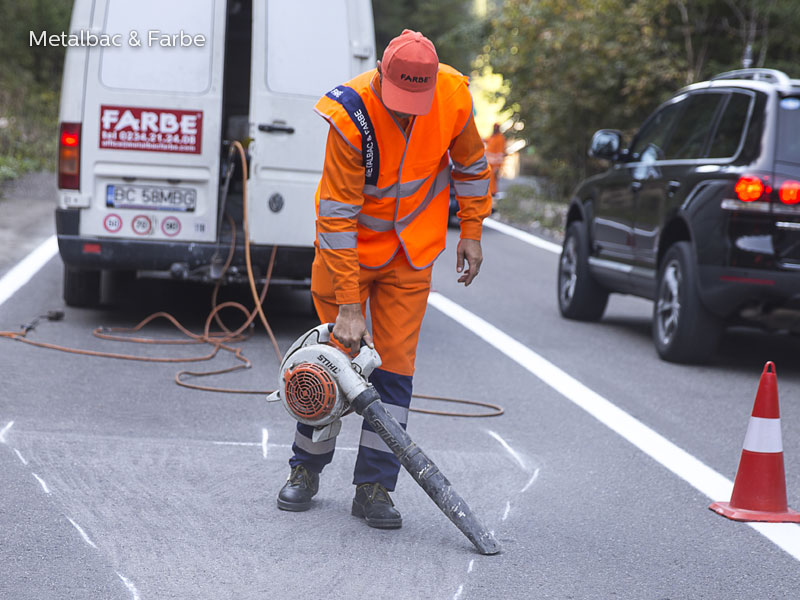
Fig. 1.a and 1.b – Cleaning the surface before application
- Positioning the preformed thermoplastic material
Ensure that no moisture is present prior to positioning the preformed thermoplastic material on the pavement surface. Always heat up the surface with a heat torch in order to remove moisture. PREFORM TCG thermoplastic material may be applied at air temperatures starting from 5°C. However, surface temperature is critical. The surface should be preheated to min. 30°C. On the cleaned and dried surface outline the symbol using a piece of chalk.
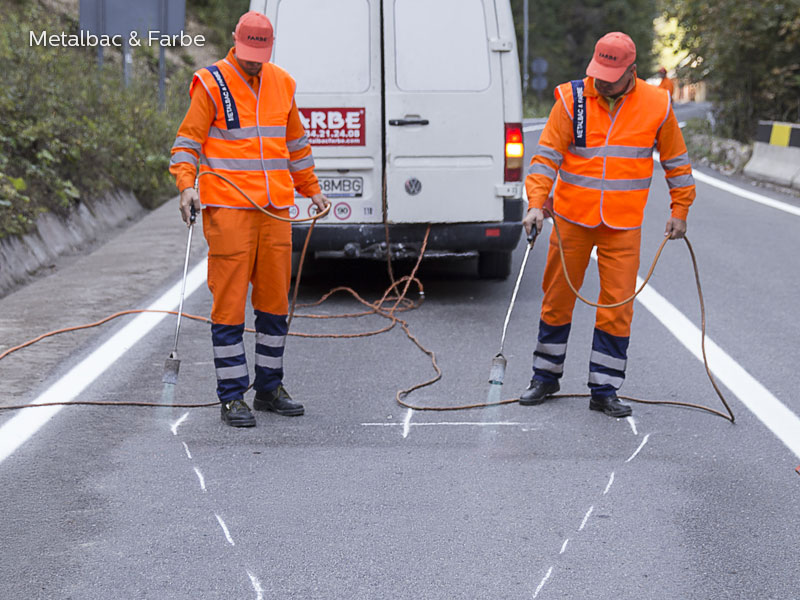
Fig. 2 – Heating up the surface
- Primer application
For achieving optimum adhesion to the pavement surface use AC-341 primer. Apply primer to areas outlined in chalk or crayon. It is very important to apply the primer on the entire surface that will be covered by the preformed thermoplastic material. The primer is dry when it does not transfer to the finger when touched. Caution: Do not accelerate the drying process of the primer by using an open flame. The primer is flammable at this stage!
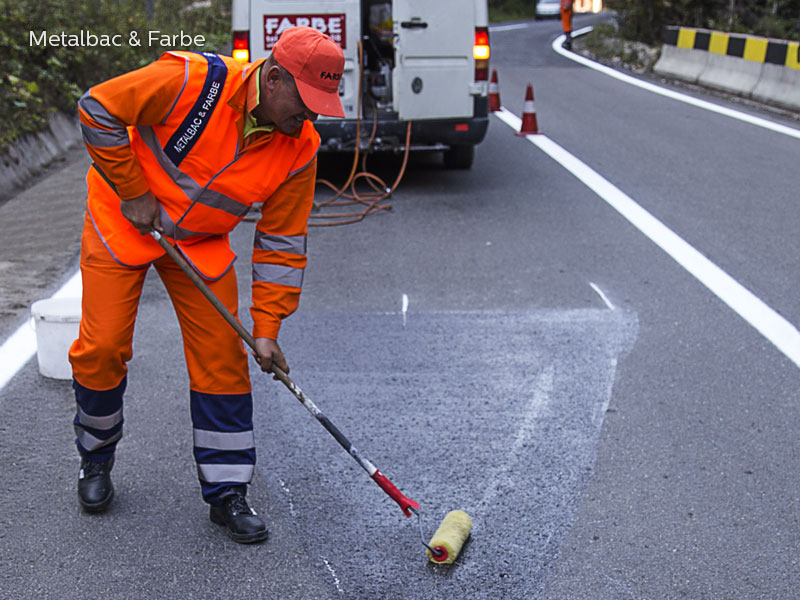
Fig. 3 – Primer application
- Assembling the pieces
Position the preformed thermoplastic on the pavement surface. Position all connecting parts of the marking on the road with the exposed beaded side up. Make sure the marking is properly placed and that there are no gaps between the segments of legends. In every PREFORM TCG packaging you can find a guiding drawing for correct assembly of the symbol.
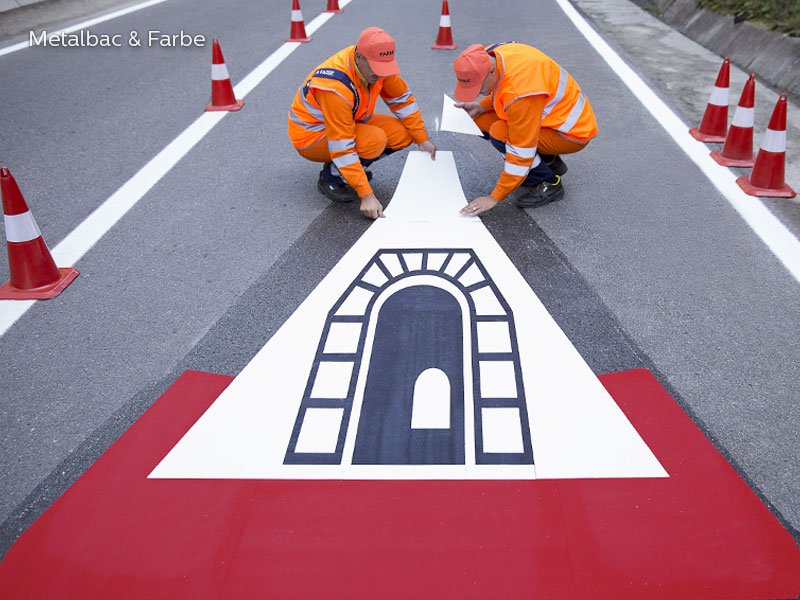
Fig. 4 – Positioning pieces prior to application
- Melting the material
Always place yourself downwind in order to protect yourself from the heat torch’s flame. Begin heating the entire material by moving the torch slowly and steadily over the material in a sweeping-like motion at a height of 20-40 cm above the material. The heat is evenly distributed across the marking, slowly melting the thermoplastic material and assuring its adhesion. As you heat the preformed thermoplastic material, visually monitor or measure the material to ensure it achieved the temperature for a proper application (200-220°C). It is important not to “overheat” the material. Measure the temperature of the preformed material using an infrared thermometer.
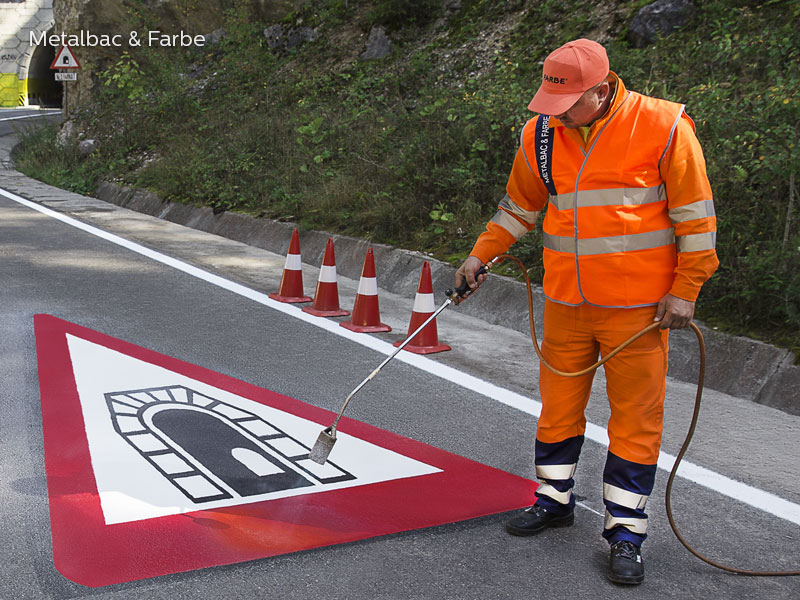
Fig. 5 – Symbol being applied by heat torch
- Glass beads application
When Night-Reflection is needed the addition of ”drop on glass beads” on the fresh still hot surface is necessary. Use from producer’s side recommended drop on material and apply with appropriate methods. If a better bead embedment is needed, slightly reheat the surface of the material one more time after the drop on material application. - Adhesion Test
Inspect the freshly applied preformed thermoplastic marking to ensure that complete bonding has occurred over the entire area. After the preformed thermoplastic has cooled to near ambient temperature, try to lift an edge or cut an area in the interior of the material with a chisel or a hammer. Try to lift a portion of the material; if the preformed thermoplastic material can be lifted easily without evidence of asphalt on the underside and you do not see a thin layer of the thermoplastic material adhering to the road surface, insufficient heat has been applied. Simply repeat step 5 to 7 by reheating the material until bonding occurres. After performing the adhesion test, remember to reheat the tested area.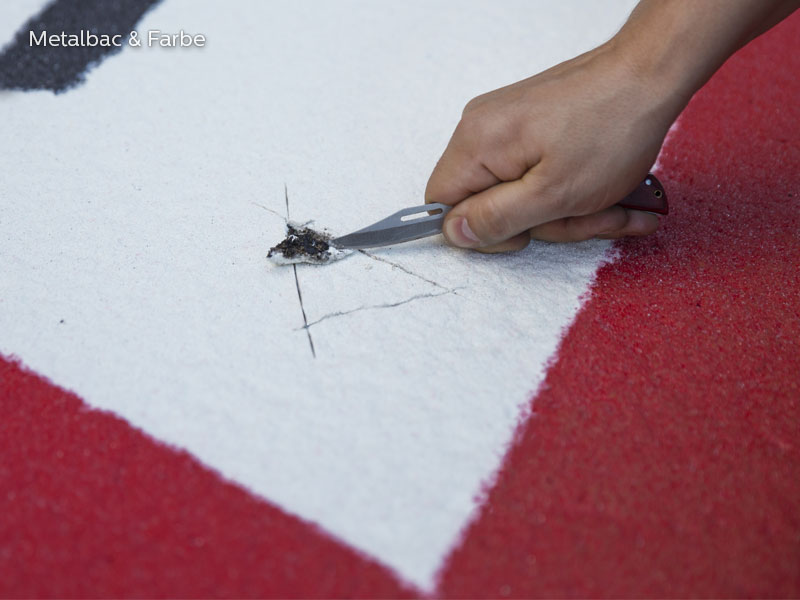
Fig. 6 – Adhesion Test
- Drying Time
PREFORM TGC will cool down and settle in a few minutes after application. The drying time is depending on asphalt temperature, weather conditions (temperature, wind etc), layer thickness and the amount of heat applied during the application process. If desired the cooling time can be reduced by covering the materials surface with water.
Above given information is based on trials and experience of the producer. The information is only valid for the product itself. Not if blended with any other product or used for any other application other than that described in the text. Information is not necessarily complete for all situations. Further this document does not mean any contractual relationship.